Tagged: clock upside down
- This topic has 8 replies, 3 voices, and was last updated 3 years, 6 months ago by
pjhi9man.
-
AuthorPosts
-
-
February 7, 2022 at 2:28 pm #6760
udenk
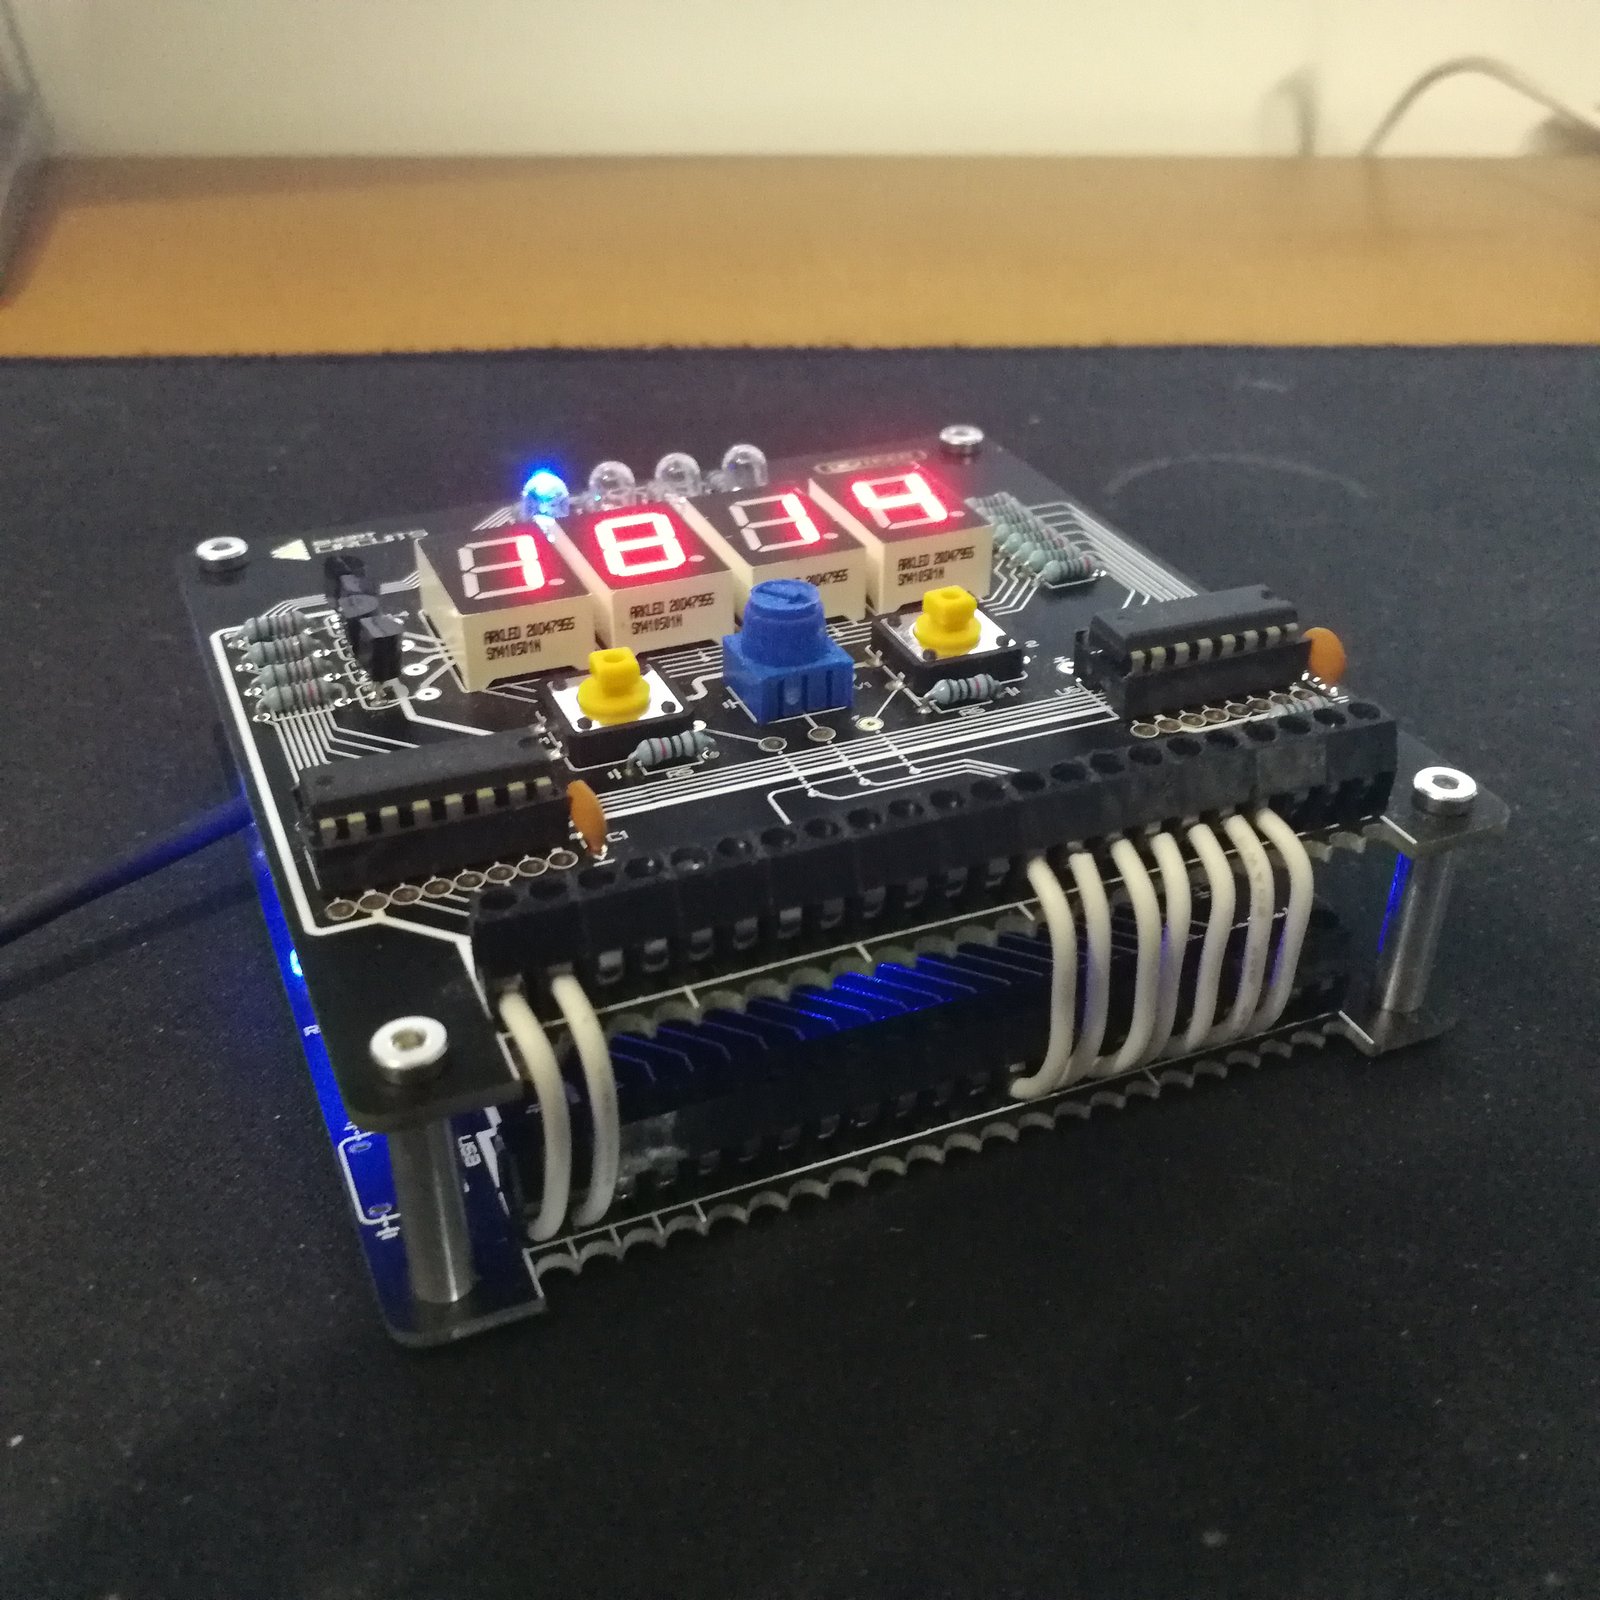
So I decide to make the clock project upside down to accommodate vertical boards.
Here are some images of the project:
https://photos.app.goo.gl/ePcQxkG2BRStyFR66
https://photos.app.goo.gl/WNgKjSeKWGizMiLGA
https://photos.app.goo.gl/6dBwvRfc2LLoBcSG6Note that a took the FTDI module and bent the leads to allow the two boards to be placed next to each other. I made the 5v adapter and used breadboard wires for board to board connection.
The code was added haphazardly. I changed the code as needed, but did not document the changes in the code itself.
Code:
https://drive.google.com/file/d/1sVfX4h4zRRKqR3ZWsMgMEUqFhR2P328y/view?usp=sharing
-
February 7, 2022 at 2:41 pm #6803
Martyn
Great work getting this up and running and with the code modifications. I can’t see the code because you need to give permission, but I’m interested in seeing the modifications to flip the display. Pairing this with a gyroscope sensor to orient the display depending on the orientation of the device would be cool.
To avoid having to flip it, I would recommend 18-20AWG wire (20 being easier). You can cut it the exact length and it fits in the grooves in the PCB and flat on the table, but you can also make them extra long then tuck the excess between the boards (which is much less fiddly). Lots of ways to skin this cat though.
Here’s how I build them without a case:


Thanks for sharing Udenk! Much appreciated. Also, if you want to have another go (or three) at the USB socket after I post a video showing the easiest way to do it, then let me know. I’ll send a few in the post for you.
-
February 7, 2022 at 5:43 pm #6810
udenk
The images should be accessible to all
-
February 7, 2022 at 6:23 pm #6814
Martyn
I updated them with the links in the email you sent. Hope you don’t mind.
-
-
February 7, 2022 at 6:02 pm #6811
udenk
The file wasn’t actually meant to be viewed. It is an Arduino file. Download and open in the app.
-
February 7, 2022 at 6:24 pm #6815
Martyn
I have access now, thanks!
-
-
February 7, 2022 at 6:45 pm #6816
udenk
This was just a temporary solution. I was waiting for the other two modules and the case I ordered to finish permanent wiring. Besides, it was a fun exercise in programming.
No idea what you had to modify to get the links to work. They showed up on my wife’s phone when I tested it.
How does one add an image directly like you did to a post. This would alleviate the links.
-
February 7, 2022 at 7:12 pm #6818
Martyn
I uploaded the image to my website, so you would have to upload it to a host that gives you a URL. I then click the IMG button when writing the post (see image) and paste the URL in.

EDIT:
testing your image links using this method:
Looks like that link doesn’t work, so it will have to be hosted on an image hosting site. A quick search came up with this example: https://imgbb.com/
-
-
July 31, 2022 at 9:22 am #8004
pjhi9man
I just reversed the motherboard:
-
-
AuthorPosts
- You must be logged in to reply to this topic.


